
If you are making a turn-based battle RPG with PvP, start with a battle that two people can finish on one screen. That lets you test targeting, skill choices and turn order before adding a network connection.
Once the local battle works, move the game state to a server and add a private room. Reconnect handling and a turn timer come next; ranked matchmaking can wait until you have a stable match and players to test it.
OhMyGame can help build that first battle: ask the agent to create characters and skill icons, implement the turn rules and open the game to test a sequence of actions. Keeping assets, code and playtests in one local project makes it easier to change a skill and try the result. This guide then takes that prototype through the steps needed for online PvP.
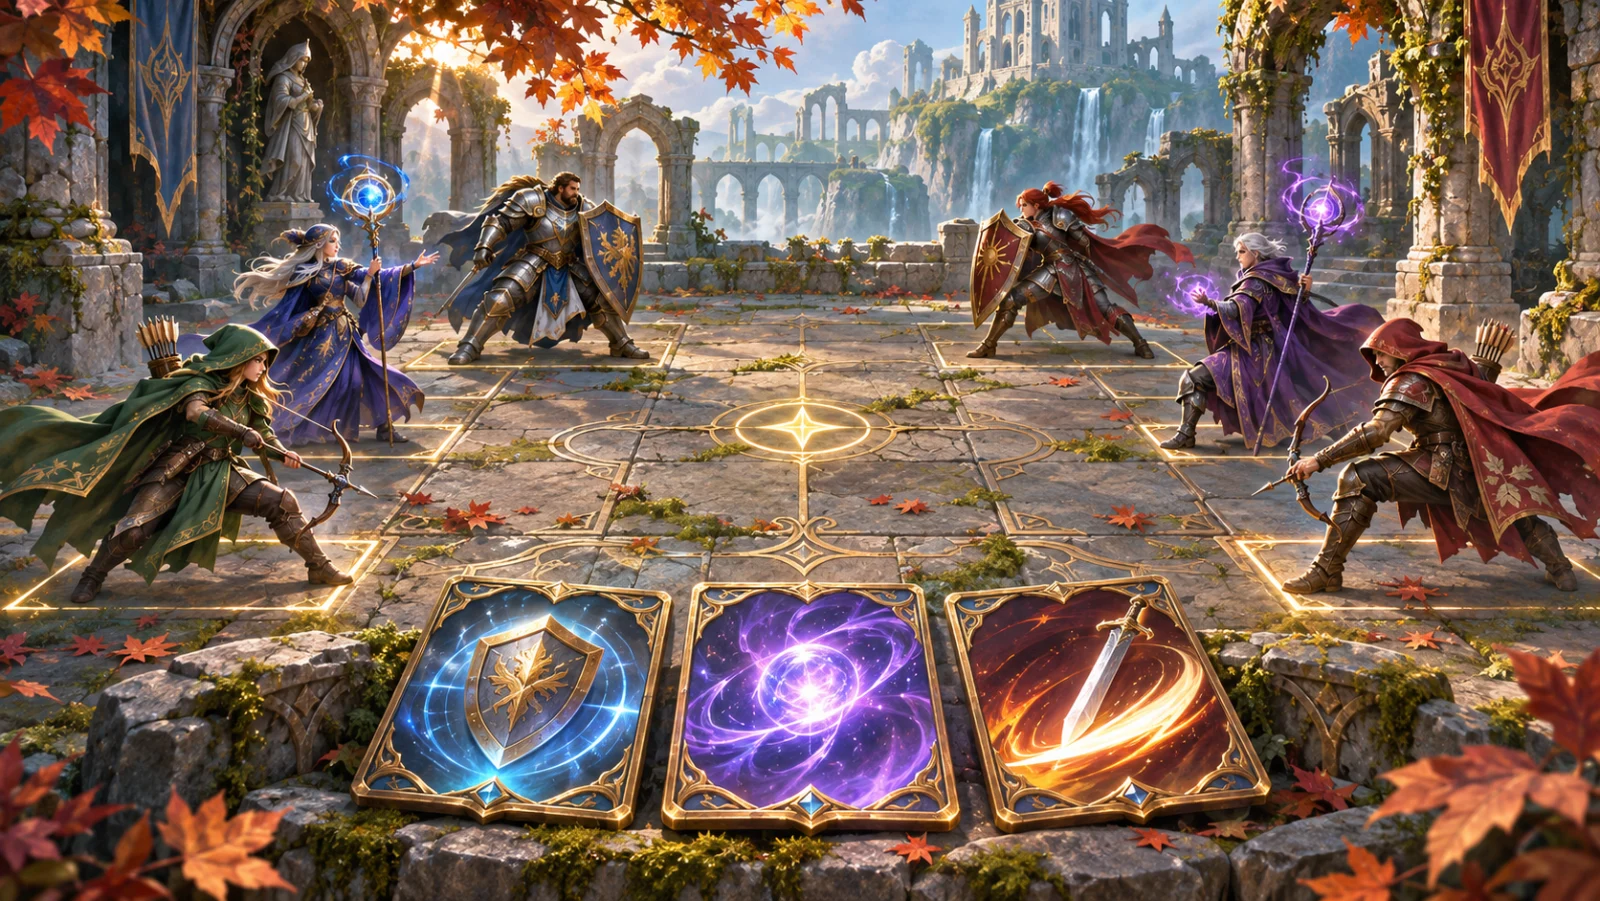
A manageable first version
Build a local battle with two sides, one arena and a small shared roster. Three characters per side and three or four skills each give you enough choices to test targeting and team roles. You can start with fewer while building the resolver.
Add these systems in order:
- Local combat, turn display and a win condition.
- A private room with server-validated actions.
- A turn timer, reconnect policy and restart flow.
- Accounts and match history, if needed.
- Matchmaking after private matches are reliable.
The aim is to finish and replay one battle. World maps, crafting and ranked seasons can be planned separately.
Choose a workflow for the first battle
This comparison describes documented workflows. Suggested uses are editorial guidance, not results from a head-to-head benchmark.
| Approach | What it helps you build | What you keep control of |
|---|---|---|
| OhMyGame | Character art, skill icons, combat code and agent playtests in the same project | Local, editable files; change a combat rule and replay the battle before adding networking |
| A chat assistant and your own editor | A combat specification, code drafts and explanations | You assemble the project, connect the assets and run the tests |
| A game engine such as Godot or Unity | A scene and scripting workflow for combat and presentation | You implement the resolver and choose the networking stack |
OhMyGame is a free, open-source desktop app; model usage depends on your connected provider. It helps with the playable local foundation. Online PvP still needs a server that validates actions, plus reconnect and synchronization tests.
The smallest PvP loop
Write the loop in one paragraph:
Two players each control three characters. Characters act in a fixed speed order, with ties resolved by a defined rule. The owner of the active character chooses one skill and a target. Damage, healing and status effects resolve in a fixed order. Characters at zero HP are removed. The first team to defeat the other team wins.
This defines who acts, what they can choose and how the match ends. Keep those rules visible while you add the UI and animations.
First design constraints
| Decision | First version | Why |
|---|---|---|
| Players | 2 | Every network edge case is easier to test |
| Team size | Up to 3 characters per side | Enough for targeting and team roles without a large roster |
| Skills | 4 per character | One basic, one heavy, one utility, one ultimate |
| Turn order | Fixed speed order with a tie-break rule | Clear next actor and reproducible results |
| Battle length | Aim for 8–12 minutes, then measure | A starting target to adjust after playtests |
| Input | Mouse/touch | Works on desktop and mobile browsers |
| Match mode | Private room | No ranking or matchmaking needed for the first test |
Design the battle before the backend
Start with a paper or spreadsheet version of the battle. You can adjust damage, speed and skill costs before implementing animation or networking.
For each character, define:
- max HP;
- attack;
- defence;
- speed;
- four skills;
- an optional passive, once the basic actions work.
For each skill, define:
- target type;
- damage or healing formula;
- cooldown or energy cost;
- status effect;
- animation cue;
- what the player sees before confirming.
The UI must answer three questions at every turn:
- Who acts next?
- What will this skill do to which target?
- What changed after the last action?
Use a short turn log and clear targeting feedback to make those answers easy to find.
Five systems behind the battle
1. Battle state
The battle state is the single source of truth: HP, energy, status effects, cooldowns, whose turn it is and what phase the match is in.
Keep it serializable so you can save a snapshot, replay a test and send the state over a network. Store the rules separately from scene objects and animation state.
2. Turn resolver
The resolver applies one action at a time and emits events:
action_starteddamage_appliedstatus_addedcharacter_defeatedturn_endedbattle_finished
Render the confirmed result in the UI. If you show a damage preview, label it as a prediction and update it from the authoritative outcome.
3. Skill data
Store skill definitions as data, such as JSON or Unity ScriptableObjects. That makes it easier to adjust costs and effects while keeping resolution rules in one place.
Each skill should declare its target rule, cost, cooldown, effects and animation key. The resolver reads the data; the UI reads the same data to show the tooltip.
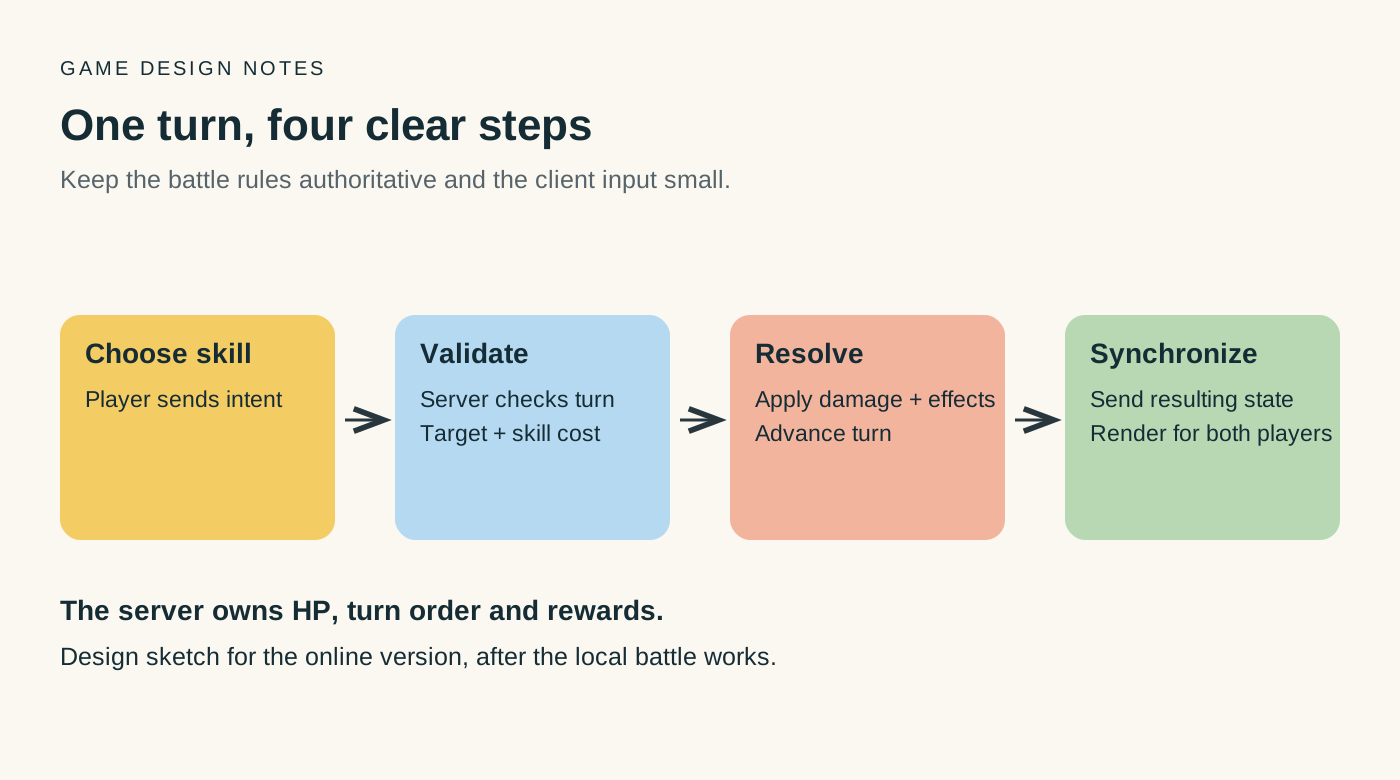
4. Server authority
For online PvP, the server owns the battle state. The client sends an intent: “use Fireball on enemy slot 2.” The server validates that the player owns the character, that the skill is available, that the target is legal and that it is that player’s turn.
Calculate damage and costs on the server. Accepting a client-supplied result would allow a modified client to choose its own damage or remaining resources.
A local prototype can keep the state in one process. When moving online, transfer validation and resolution to the trusted server.
5. Reconnect and timeout
A player will close the tab. Decide what happens before you invite anyone:
- How long does the disconnected player have to return?
- Does the turn timer continue?
- Does the opponent win by default?
- Can the match resume from a saved state?
For an initial test, you might try a 60-second reconnect window and a server-side turn timer. Treat that duration as a design choice, then test it by closing a tab during a match. Rejoin with an authorized session and restore only the state that player is allowed to see.
Choosing a backend
For a browser prototype, a WebSocket server with private rooms gives you a straightforward place to keep battle state and validate actions. Colyseus provides a multiplayer framework with room and state-synchronization features if you prefer an existing structure.
A managed message or database service can also carry updates, but broadcasting a move does not validate it. Keep a trusted action handler between player input and the final battle state. If you already work in a native engine, evaluate its networking tools against the same requirement.
For each action, include a match identifier, an action identifier and the state version it expects. Check player identity and reject duplicate or stale actions so a retry cannot spend resources twice.
Build order that keeps the project finishable
Step 1: Build a single-player battle
One tester controls both sides without networking. Check turn order, skill resolution and the win condition before creating rooms.
Step 2: Add a local hot-seat mode
Two players share one screen. Make the active character and owner clear. If your design includes hidden choices, decide how the handover should conceal them.
Step 3: Add a server-owned room
Move the battle state to the server. Clients send action requests and render confirmed results. Start with two browser windows, then test two devices on different connections.
Step 4: Add reconnect and a turn timer
Close one window. Reopen it. Make sure the match can resume or end cleanly. Add a timer so one player cannot hold the room forever.
Step 5: Add private invites
Use a room code before matchmaking. It is easier to debug, easier to test with friends and enough for a first release.
Step 6: Add accounts and persistence
Add persistent teams and match history when the room flow is stable. Decide which data belongs to a player account and which data only needs to live for the current match.
Step 7: Add ranked matchmaking
Ranked play needs a player pool, placement rules, rating updates and a policy for players who leave. Introduce it as a separate milestone after private matches.
A prompt for the first playable prototype
Build a browser prototype of a turn-based 1v1 RPG battle.

Scope:
- two teams of three characters;
- four skills per character;
- fixed speed order with a defined tie-break rule;
- one arena;
- win when all three enemy characters are defeated.

First build a local hot-seat game with no backend.
Keep the battle state in one serializable object.
Resolve actions in a separate module and emit events for the UI.
Show the turn order, HP, energy, cooldowns and status effects.

After the local loop works, add a server-owned room with private room codes.
The server validates player identity, active character, skill cost, target,
turn, action ID and expected state version. Reject duplicate or stale actions.
Do not let the client send final damage.

Test these cases:
- a character is defeated;
- a skill is on cooldown;
- a player disconnects and reconnects;
- both players try to act at once;
- the match ends and can be restarted.
The prompt separates combat rules, presentation and networking so each can be checked independently. Add animation after the action sequence and results are consistent.
Use playtests to adjust the balance
Start with one rule: every character should have a reason to be chosen, and every skill should change a decision.
Then test:
- Does a fast character always win?
- Is one ultimate strictly better than every other?
- Can a player stall forever with healing?
- Does the first player have an unfair advantage?
- Is there a dominant team that wins every match?
Change one variable at a time and keep a battle log. Interpret win rates alongside the number of matches, the players involved and their team choices; a small test cannot establish long-term balance.
Build and iterate on the battle in OhMyGame
Use an AI RPG maker such as OhMyGame to turn the local battle into something you can play. Keep the design notes, create character art and skill icons, ask the agent to implement the resolver, then open the game to test a sequence of actions.
The project remains a set of local files, so you can inspect the code, keep a working version and extend it later. The app is free and open source; connected model services follow their own usage terms. When you move to online PvP, add the server and test validation separately from the local combat prototype.
FAQ
Can I make a turn-based PvP RPG without a backend?
You can make a local hot-seat or single-player prototype without one. For online PvP, you need a server that owns the battle state and validates actions. A peer-to-peer prototype is possible, but cheating and reconnect handling become harder.
Should I use Unity, Godot or a browser stack?
Use the stack you can test fastest. A browser prototype with TypeScript and WebSockets is easy to share. Unity or Godot make sense if you already know them and need native builds.
How many characters should the first version have?
Start with one per side while implementing the resolver, then expand to three per side to test targeting and team roles. You can use the same small roster for both players instead of designing six unique characters immediately.
How do I stop cheating?
The server must validate every action and own the final state. Do not trust client damage, cooldowns, turn order or rewards. Also check player identity, costs, action order and duplicate requests; those checks should use trusted state.
How long does a first playable take?
The time depends on your experience, assets and toolchain. Estimate the local battle, private online rooms and ranked play as separate milestones. Finish the local end-to-end loop before estimating the larger release.